

Welcome to the second annual DIY week at QSF. We’ve got a great line-up of topics for the week, some of which are moderated – but in general, we’ll just share information about how to start and manage a small press:
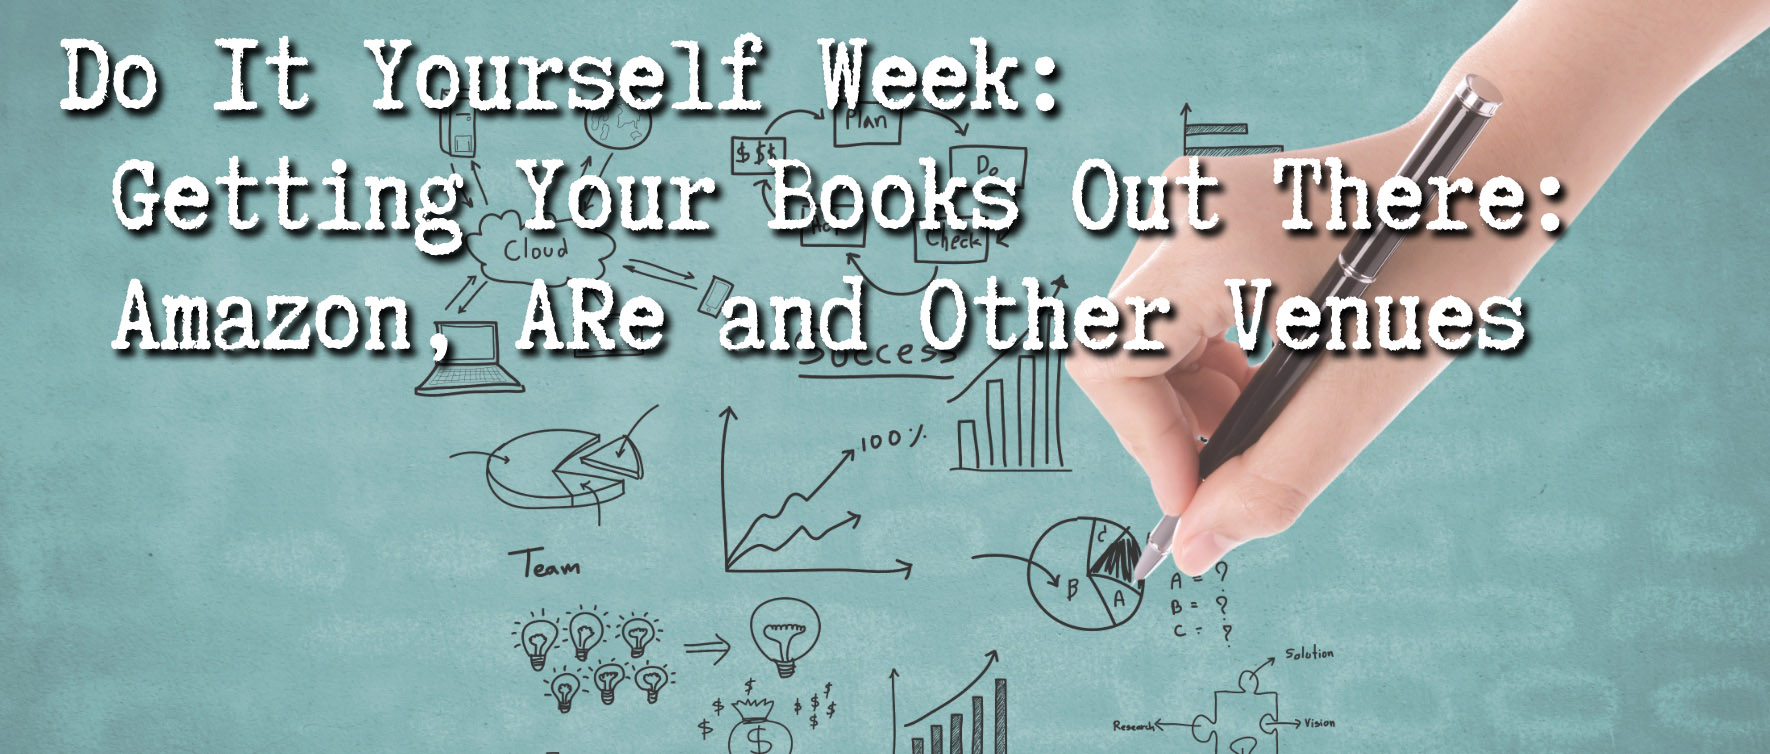
Thursday: Alicia Nordwell – Getting Your Books Out There; Amazon; Other Venues
Friday: Loren Rhoads – Promoting Your Work
Saturday: Hannah Walker – Mistakes to Avoid, Mistakes to Make, Keeping Up Your Morale;
Sunday: Dawn Chapman – Starting Your Own Press/Crowdfunding
You’ve completed your grand opus. You’ve decided to self publish. You’ve got your first book edited, formatted, and ready to go. What next? Alicia Nordwell talks about getting it out there:
Thousands of authors self-publish on a variety of sites, so it should be easy, right? Well, it’s not exactly hard—if you understand there is a lot of work to do before you even hit the seller sites with your manuscript. It ties directly into production, because if you don’t have it right, you’ll need to do it over after the sites reject your submission. So follow along with these tip for a smooth process for your release day!
**If you’re producing a 2nd edition manuscript to self-publish, be sure you have official documentation from the publisher that the rights have reverted back to you as the author. You may need it if a site questions your legal right to republish the eBook, as that will delay publication.
Before You Begin Producing a Manuscript
1. You will need the cover art in both large and small sizes, (as large as 1,400 pixels on the shortest side allowed on Smashwords, 1,000 is on Amazon, down to 200 pixels for All Romance eBooks). If you plan to produce a paperback version of your eBook, you will want high resolution 300 pixels per inch version, but you’ll need to scale down your cover for online use to just 72 ppi. Make sure your artist (or you) know what you’ll need before you start.
2. It’s also important to create a publisher or author account on every site you plan to use well before your publication date. Some can take several days or even more than a week to approve you as a seller on their site.
Producing a Manuscript
1. If you plan to sell on Amazon and Smashwords you will need different Word formats. Amazon requires the file to be .docx and Smashwords requires .doc. There are also some formatting differences, but I’ll be sure to highlight those.
2. The most important thing is that you use the “Normal” style in Word, or insure that your text color and font is set to “automatic”. If you’ve ever tried to read an e-book on a black background and the pages looked blank, you found an author who didn’t do this. This also prevents problems like different fonts creeping in if you’ve had various editors using different versions of Word.
3. Choose either block formatting (no paragraph indents and a line break between paragraphs) or indent formatting (first line indents and no space between paragraphs). Do not use tab to create indents! Smashwords will reject your manuscript if you use those or if you use a mix of both formats.
4. Create a table of contents in your word file is easier than generating one on a seller site, and not all provide the option, so I do that in my manuscript Ensure you post it at the beginning of the manuscript and not the end, or Amazon may pull your eBook.
5. Adding in author and social media links. This is okay on both Amazon and All Romance eBooks, but Smashwords will block your eBook from their Premium catalog (all the 3rd party sites like B&N or Apple) faster than you can blink. Strip all these out and use your site author page/bio on the site itself to include that information for readers.
6. You can set up a future date for publishing on all the major selling sites, which gives you a cushion if you’re unsure of your manuscript being accepted. A week, or even two, gives you plenty of time to make tweaks and you can still promote the publishing date beforehand.
Publishing on Amazon
You have your docx file with your 72ppi cover with the short side at least 1000 pixels wide. Great! Log into the KDP and visit your bookshelf and click on the create an eBook. Each field is fairly straightforward and has “What’s this?” help info. A few tips:
1. Make sure you add yourself as a contributor—you are the author. You can also add co-authors, cover artists, or editors.
2. Categories: You get two and should use them both. They might not be perfect matches but choose the ones closest to your book’s information.
3. Keywords sell! You have seven so choose them wisely.
4. DRM or not to DRM… Readers cannot download change the format or share the book if you have DRM enabled, but it also limits downloads if a reader upgrades devices. Research this more if you’re concerned about it.
5. Browse and load your .docx Word file. You can move along to the pricing page as it loads.
6. If you price your eBook below 2.99, you will get no more than 30% of the royalties. Anything above that is 70% except in some associated world markets. All this information generates automatically when you price your eBook in your ‘home’ market.
7. Enable Matchbook or Kindle lending, or not (information is provided) and then if your eBook manuscript was accepted, Save and Publish!
8. Check back to your Bookshelf to see your eBook’s status. Amazon can take as few as a couple of hours to more than twenty-four to publish.
Publishing on Smashwords
Smashwords has a help eBook for publishing on their site for the Premium catalog and you should definitely download it. Read it, keep it open as you follow it step-by-step, and remember to stay calm as you go through their meat grinder (their words, not mine)! A few tips:
1. Most important: Remember to strip all formatting and only use the Styles options on both the chapter text as well as the headers and other styles. Don’t format any titles above a size 14. Take out all the third-party links in the document. Remove all images from the document.
2. Sign in and click on the Publish tab option. Provide most of the same information you would use on Amazon (author name, description, etc…). Smashwords is different in that it requires both a ‘short’ synopsis of no more than 400 characters (not words, people, that’s each letter) as well as a long synopsis.
3. Smashwords lets you choose what percentage of a ‘sample’ readers can get. I tend not to do more than 10% for a long novel or 5% for a short story.
4. Use both category options! Remember: the more eyes, the more buys!!
5. Tag away. You can use more than 7 here, so use anything and everything (that’s applicable) that you think a person searching for your kind of book might look under. This also falls under the eyes/buys reminder.
6. eBook formats. Theses come pre-checked and I leave them all checked because who knows what a reader might choose? Sure, it’s usually epub, mobi, or pdf… but don’t limit yourself if you don’t have to!
7. Add your cover. Remember, Smashwords requires your shortest side to be 1,400ppi.
8. Add your carefully formatted .doc file.
9. Publish!
Publishing on All Romance eBooks
This site is both the easiest to upload the story meta data to, and the most complicated as you have to provide the eBook formats—and using versions download from Smashwords isn’t allowed.
Before you start publishing: There are many sites or programs to create epub and mobi formats. I personally use Calibre, which is free. If you’ve properly formatted the .docx file, you can use that to create an ePub simply by loading the .docx file into Calibre, editing the meta data (they will import the cover but you will want to fix the title and author sort, add keywords [remember more eyes, more buys!] and set the publication date, add the synopsis, etc…). I think convert that epub format to a mobi format and download both to my computer.
1. All files uploaded to ARe cannot have any spaces in the file title. So “My eBook – My Name” would have to be “MyeBook-MyName”.
2. Add yourself as an author, if you aren’t already in their system.
3. Add in the meta data as needed.
*Don’t use a comma when giving the total word count.
*When giving the price, enter your initials even if you’re not ‘changing’ the price. You can set the publishing date later to make this a pre-order.
4. Add the cover. Uploaded image can only be 200x300ppi.
5. Tag, tag, tag.
6. Ignore the discount field unless you wish to debut your novel on sale. Don’t forget to initial that box if you use this feature.
7. ARe will usually upload an eBook within 30 minutes. If you want to check beforehand try searching by the specific title; often it’ll appear within a few minutes that way.
**If you mess up a step and it triggers a warning (the information you messed up will be noted in red at the top of the submission page), you will have to upload the cover and redo the blurb and excerpt again even if it looks like they’re still there.
Thank you very much for writing such an easy to understand, step by step description of the process!